How to Install Zsh
How to Install Zsh: A Comprehensive Guide for Developers
Zsh (Z Shell) is a powerful Unix shell known for its advanced features, customization capabilities, and user-friendly experience. Whether you’re a seasoned developer or just starting your journey in the command line, installing Zsh can significantly enhance your productivity. This guide will walk you through the process of installing Zsh on various platforms and provide practical examples to get you started.
Why Install Zsh?
Zsh offers several advantages over traditional shells like Bash:
- Advanced Autocompletion: Zsh provides intelligent suggestions for commands, options, and file paths.
- Customization: With frameworks like Oh My Zsh, you can easily customize your shell’s appearance and functionality.
- Improved Performance: Zsh often outperforms Bash in terms of speed and responsiveness.
- Interactive Features: Zsh includes spell correction, command suggestions, and more.
Installing Zsh on Different Platforms
1. macOS
On macOS, Zsh is already the default shell starting from Catalina (macOS 10.15). However, if you need to install or update Zsh, you can use Homebrew:
1 | # Install Homebrew (if not already installed) |
To set Zsh as your default shell:
1 | chsh -s /bin/zsh |
2. Linux
On Linux, you can install Zsh using your distribution’s package manager. For example:
Ubuntu/Debian:
1
2
sudo apt update
sudo apt install zshFedora:
1
sudo dnf install zsh
Arch Linux:
1
sudo pacman -S zsh
To set Zsh as your default shell:
1 | chsh -s $(which zsh) |
3. Windows (WSL)
If you’re using Windows Subsystem for Linux (WSL), you can install Zsh just like on a regular Linux distribution. For example, on Ubuntu:
1 | sudo apt update |
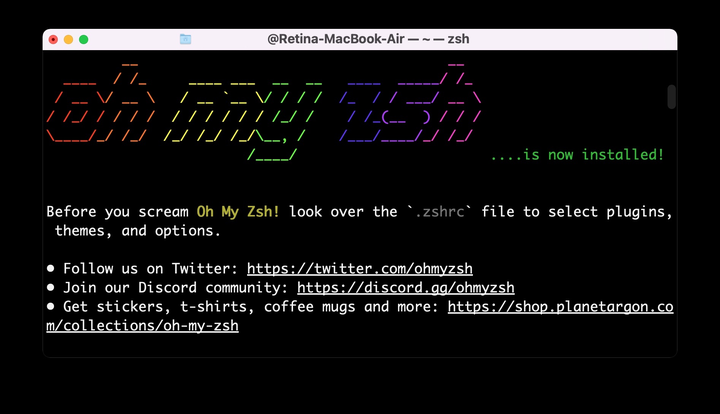
Setting Up Oh My Zsh
Oh My Zsh is a popular framework for managing Zsh configurations. It provides a wide range of plugins and themes to enhance your shell experience.
To install Oh My Zsh:
1 | sh -c "$(curl -fsSL https://raw.githubusercontent.com/ohmyzsh/ohmyzsh/master/tools/install.sh)" |
After installation, you can customize your Zsh configuration by editing the ~/.zshrc file. For example:
1 | # Set a custom theme |
Then, reload your Zsh configuration:
1 | source ~/.zshrc |
Practical Examples
Customizing Your Prompt
Edit your
~/.zshrcfile to change the theme and enable plugins:1
2ZSH_THEME="agnoster"
plugins=(git sudo)Using Zsh Autocompletion
Type a partial command and press
Tabto see suggestions. For example:1
git che<Tab> # Autocompletes to "git checkout"
Interactive Command Correction
If you make a typo, Zsh will prompt you to correct it:
1
sl # Zsh will suggest "zsh: correct 'sl' to 'ls'?"